Once Rapid BI Catalog is installed and activated, complete these one-time setup steps so the application can process files, send email, and authenticate your users. Each step links to its detailed page.
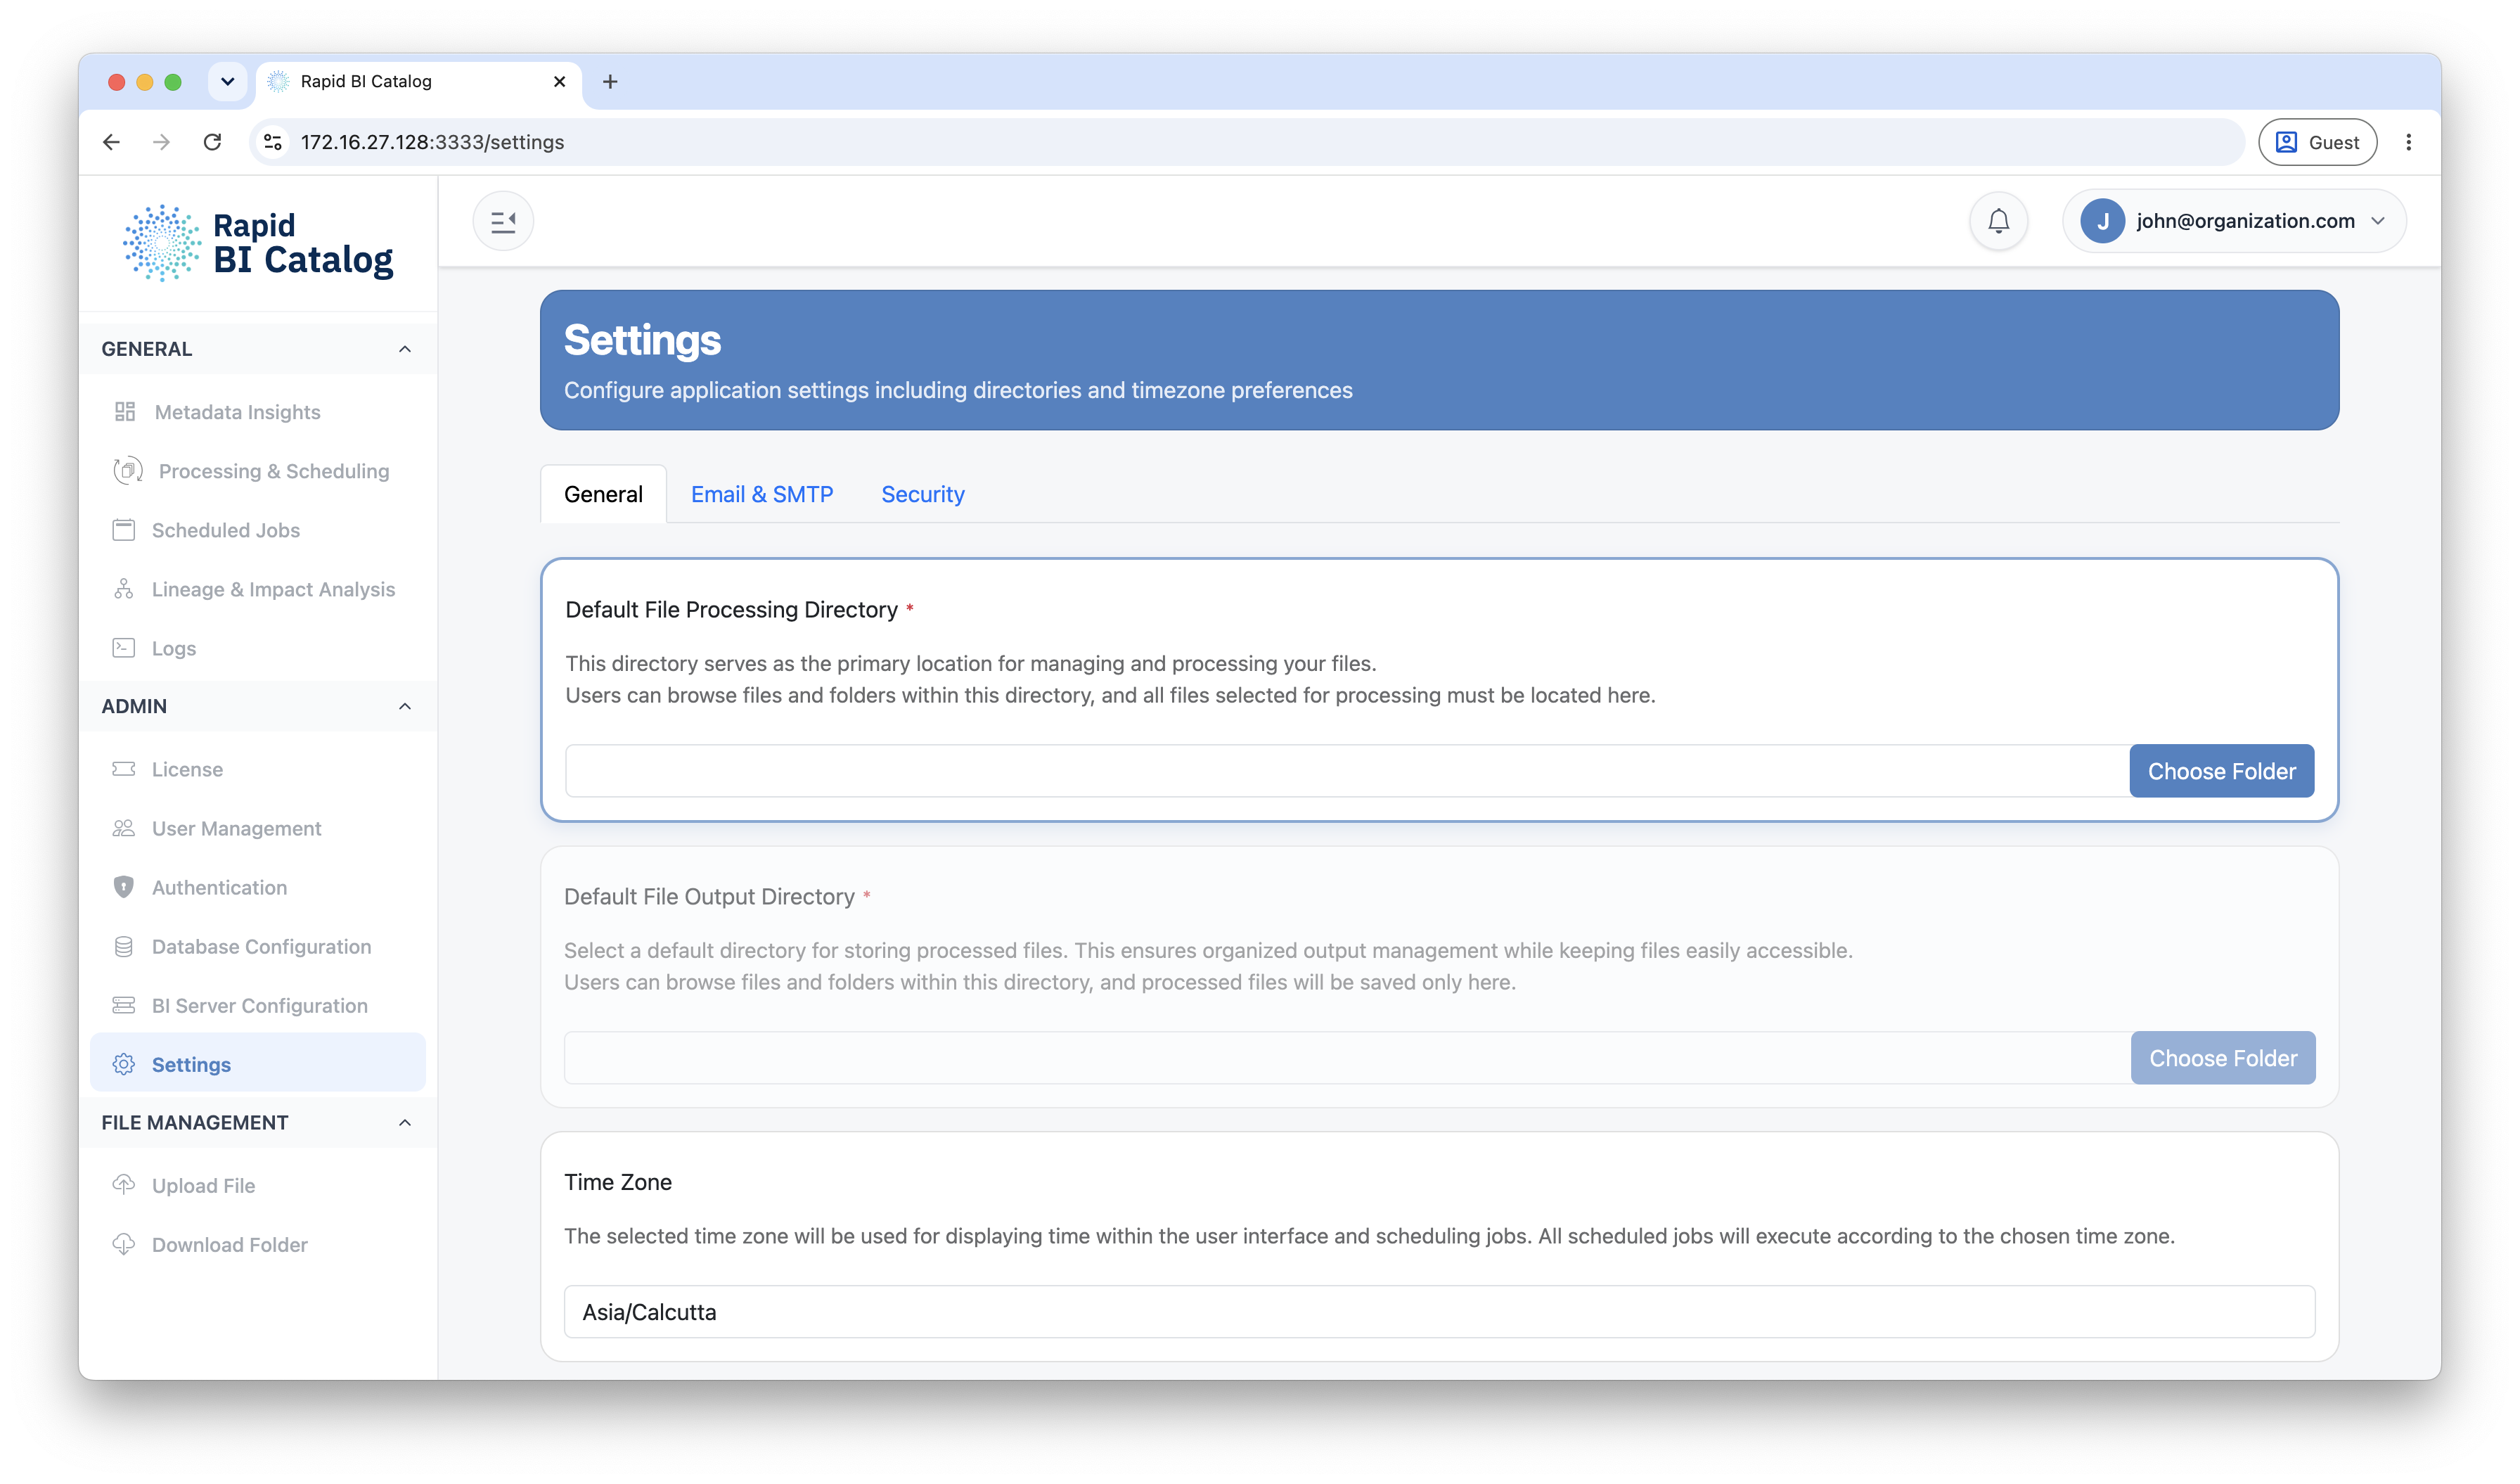
1. Default Directories
Set the default input and default output directories. All file access is confined to these two roots, and processing is blocked until both are set. See Settings.
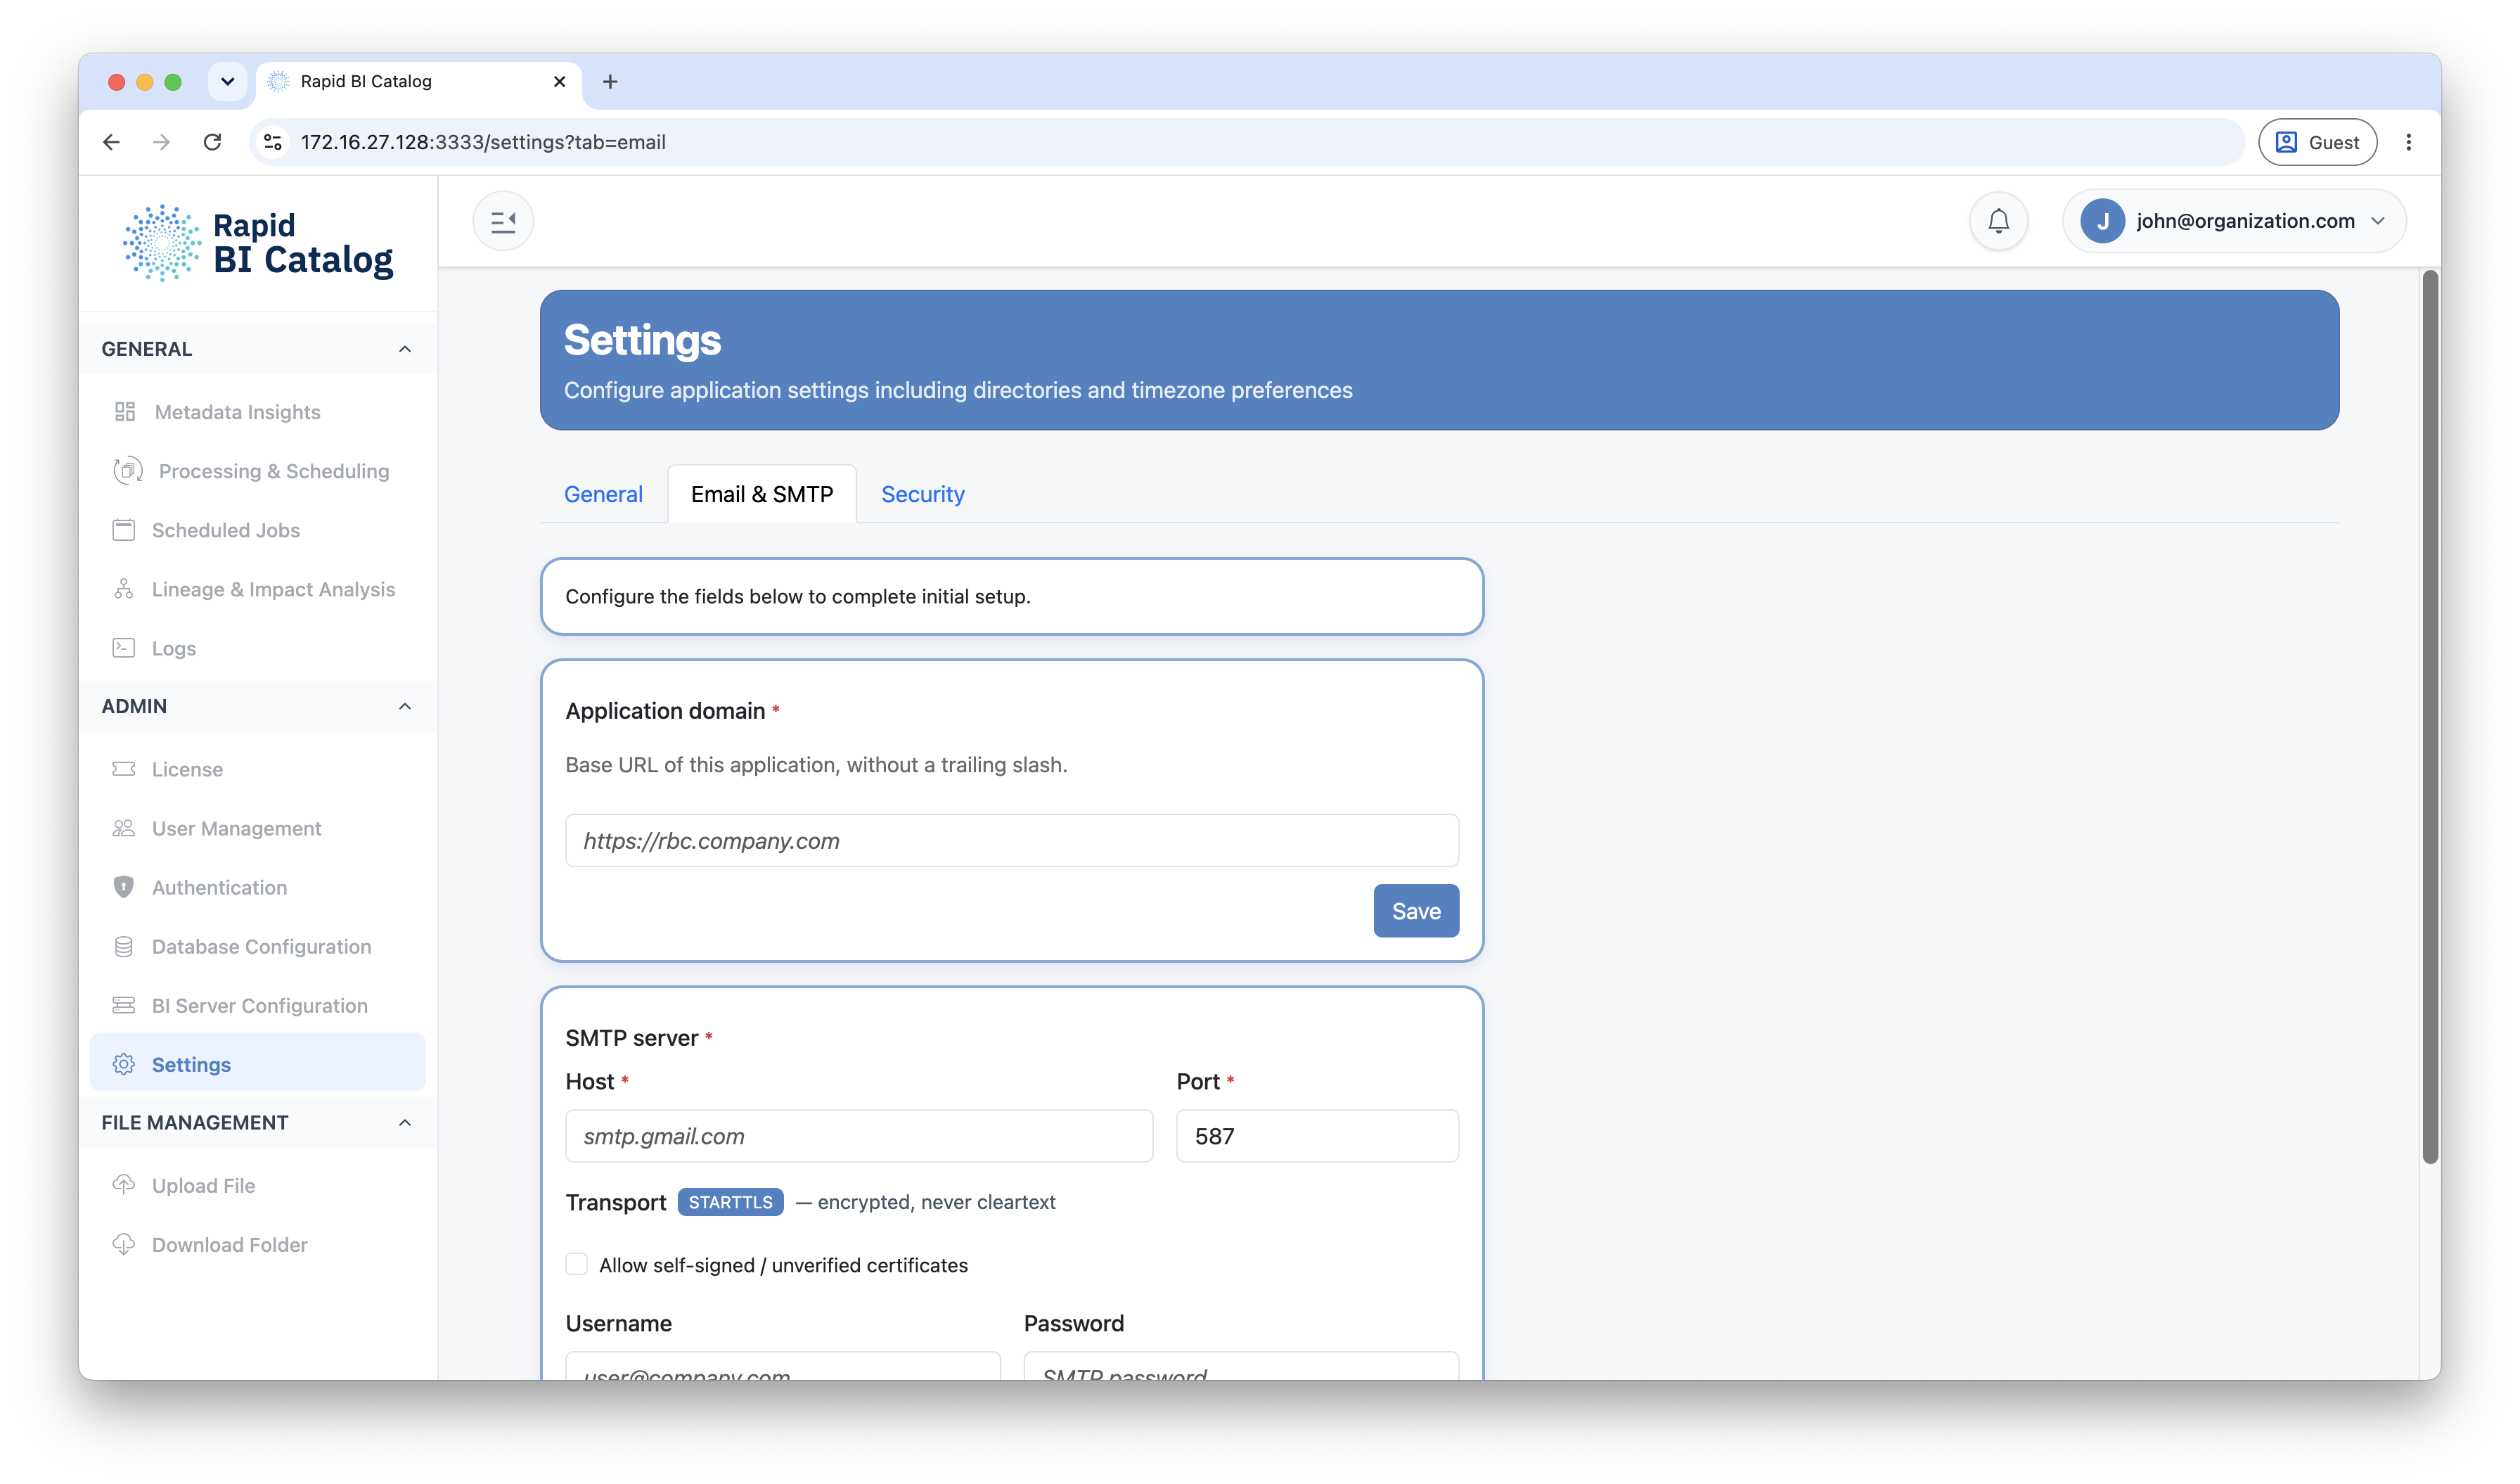
2. Application Domain
Set the base HTTPS URL where users reach the application. It is used to build the links in invitation, registration, and password-reset emails, and for client-facing URL decisions. See Settings.
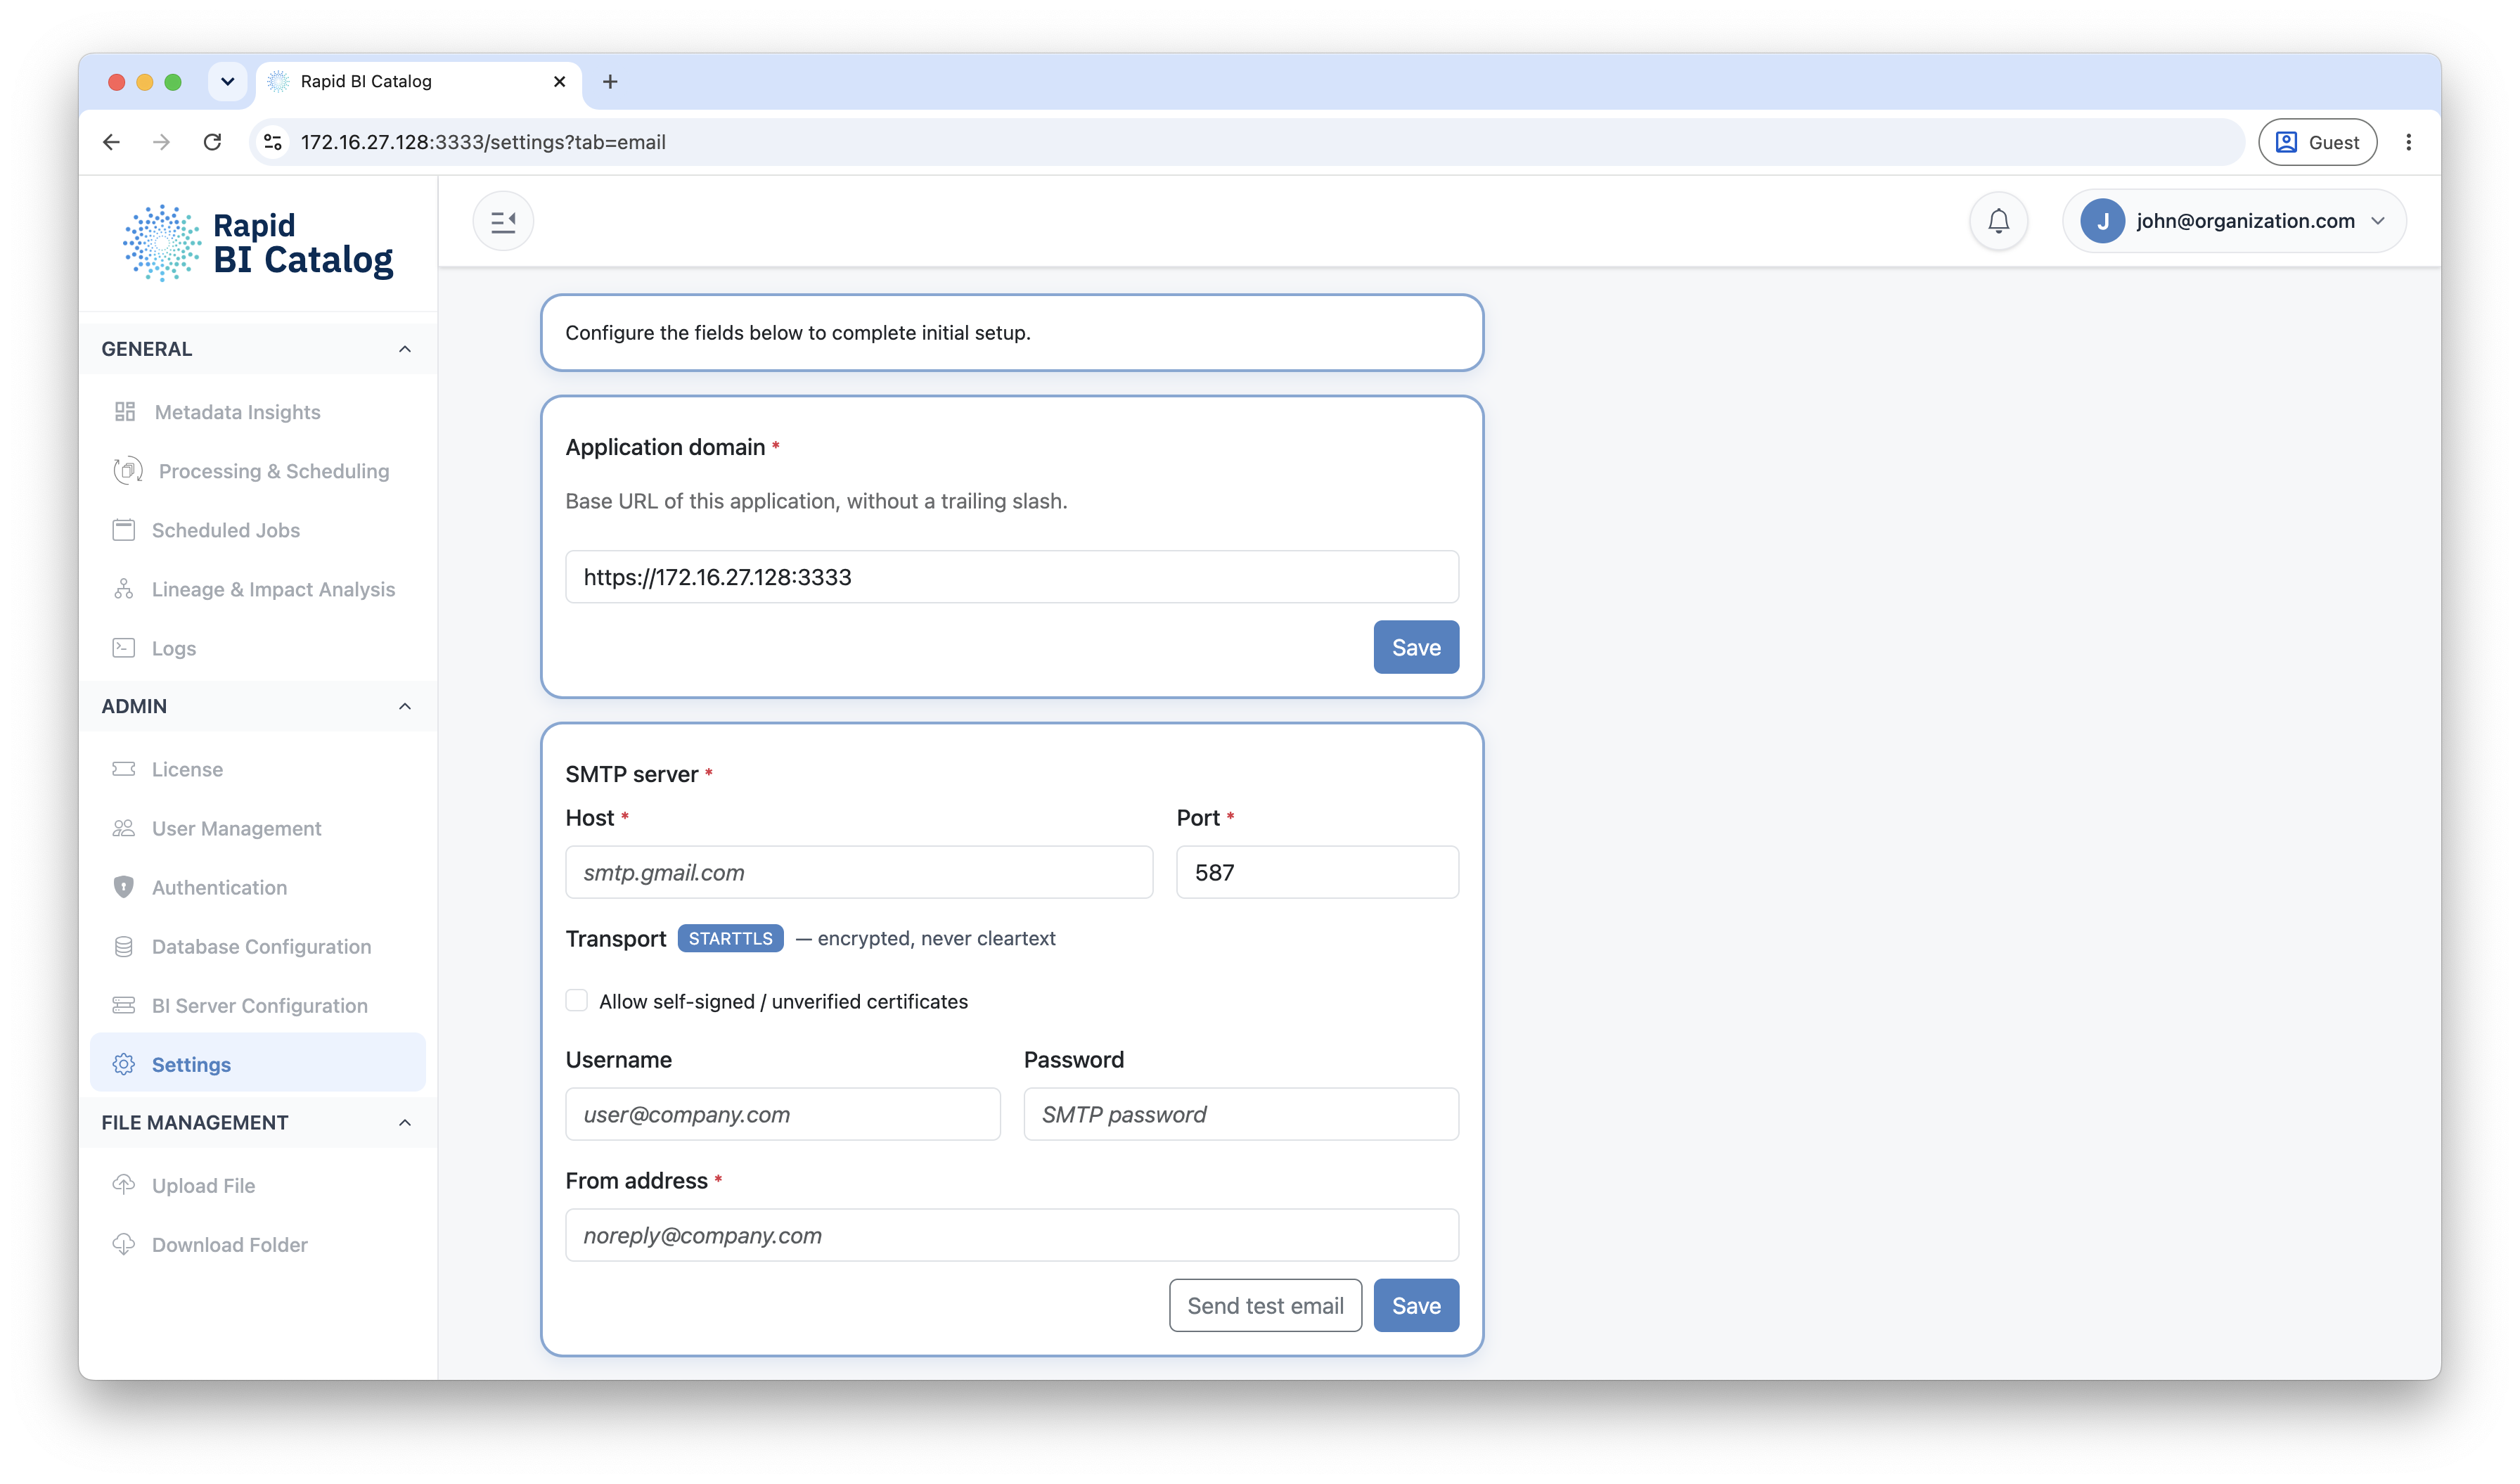
3. Email (SMTP)
Configure SMTP so invitations, onboarding, password resets, and notifications can be delivered. See Settings.
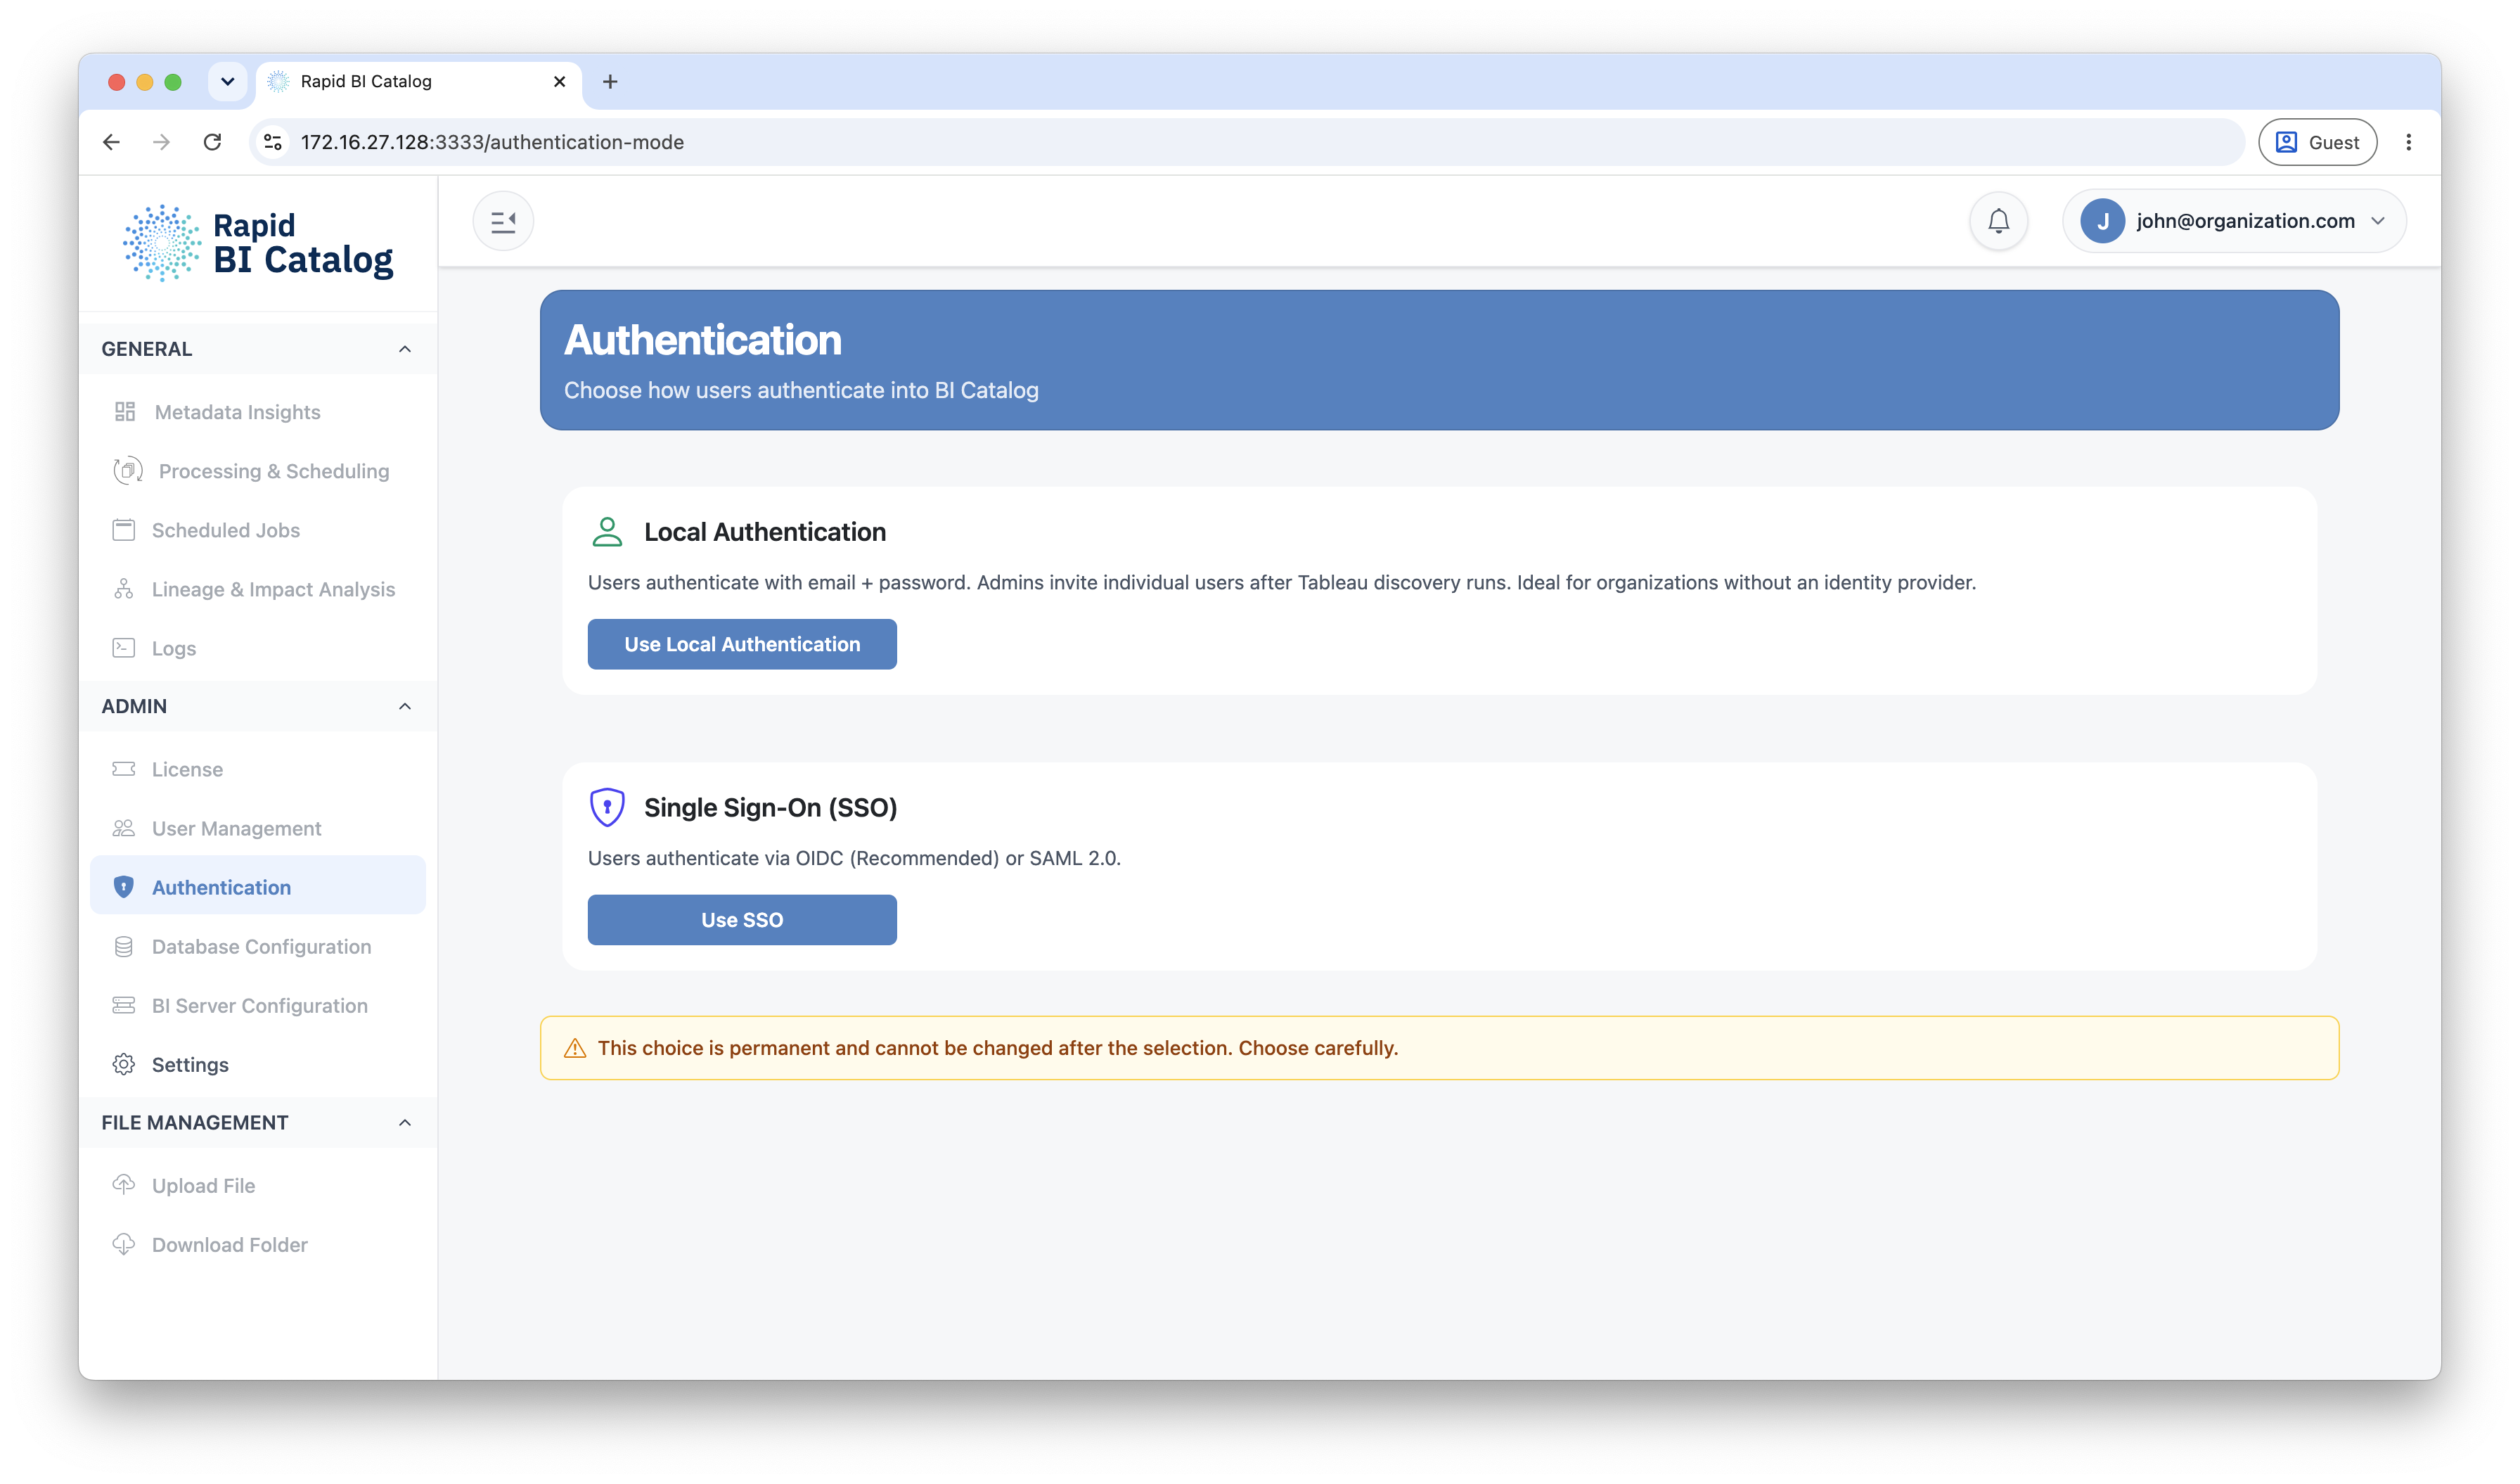
4. Authentication Mode
Choose how users sign in — with local accounts or with SSO. This is a one-time, permanent choice made at setup. See User Management for the choice and SSO Configuration to connect an Identity Provider.
Next Steps
- Configure all settings in detail: Settings
- Connect Tableau: Tableau Server & Cloud Setup
- Set up single sign-on: SSO Configuration